25 Creative Wine Bottle Chandelier Ideas
20+ Creative Wine Bottle Centerpieces
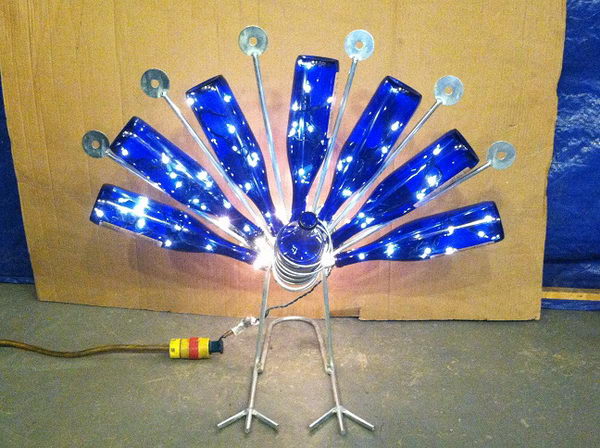
Peacock for Christmas

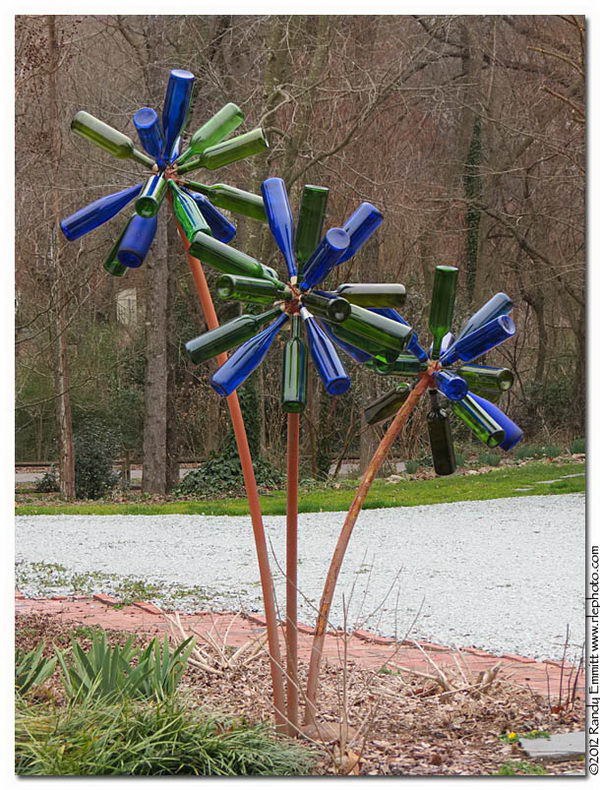
Flowers

Blue Wine Bottle Torch
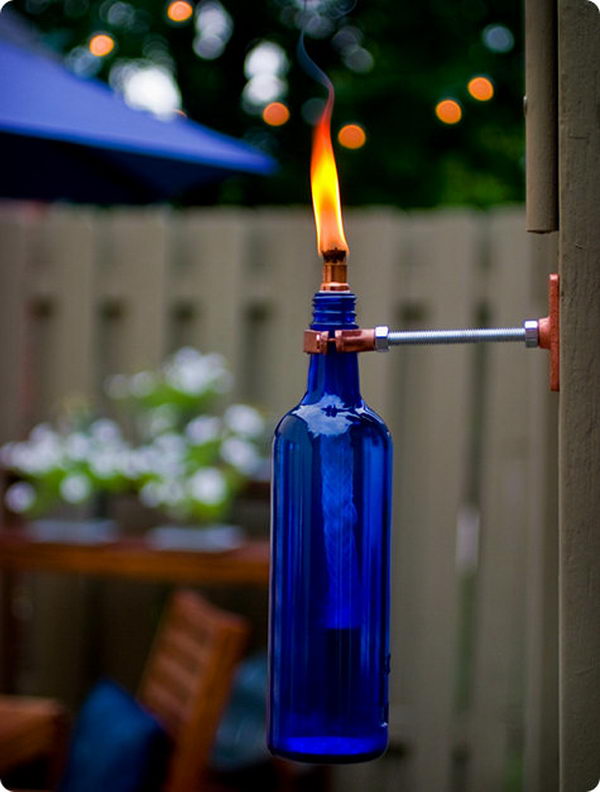

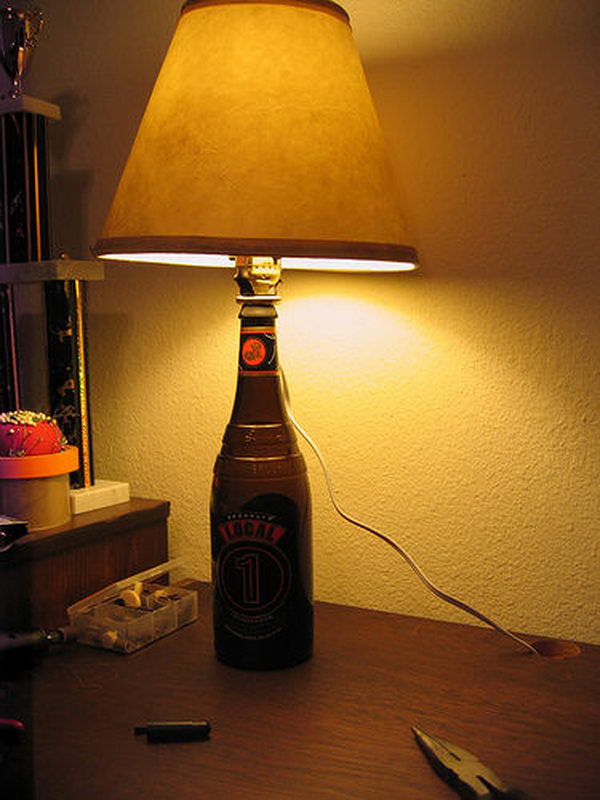
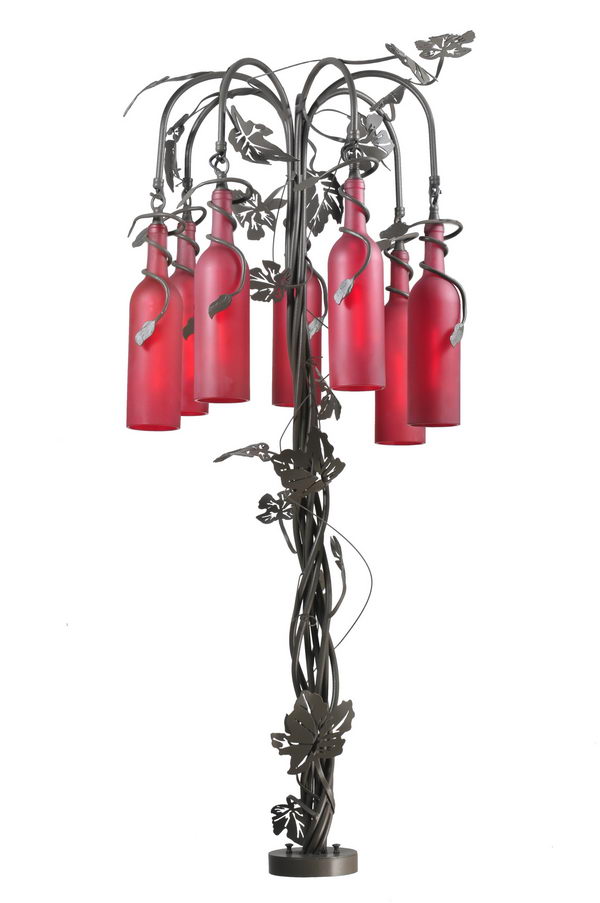
Table Lamp

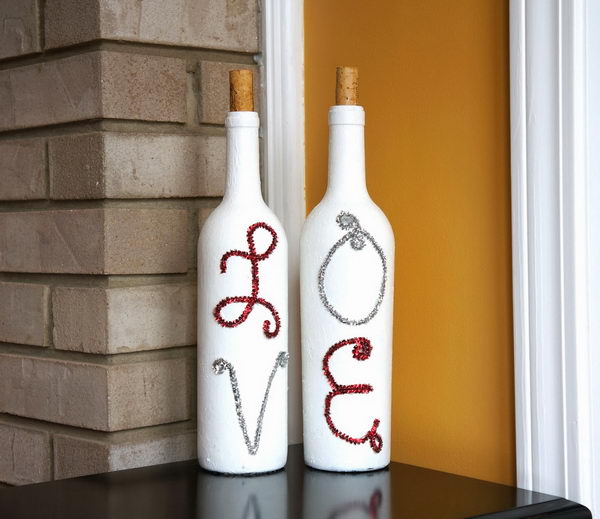
Painted Wine Bottles for Valentine’s Day decoration

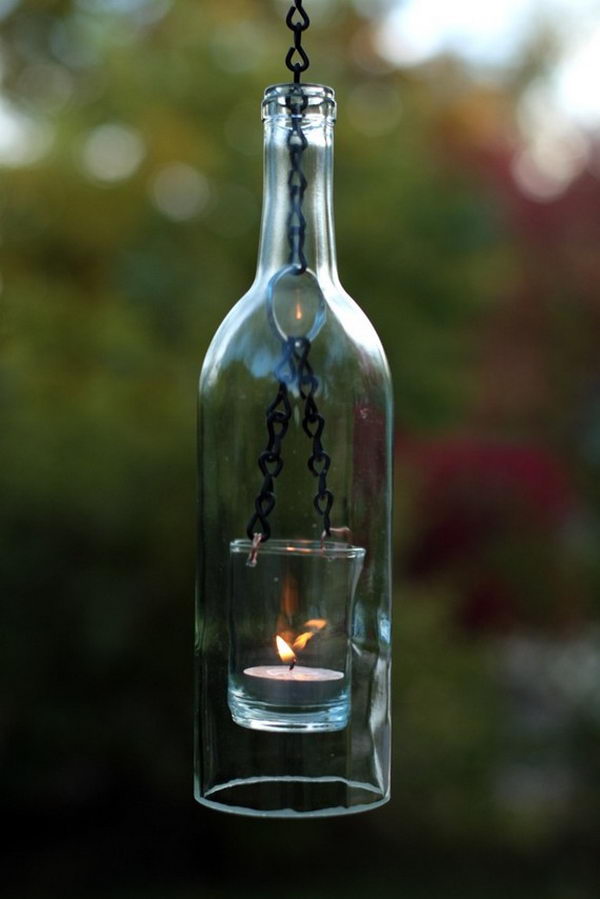
Hanging Lantern

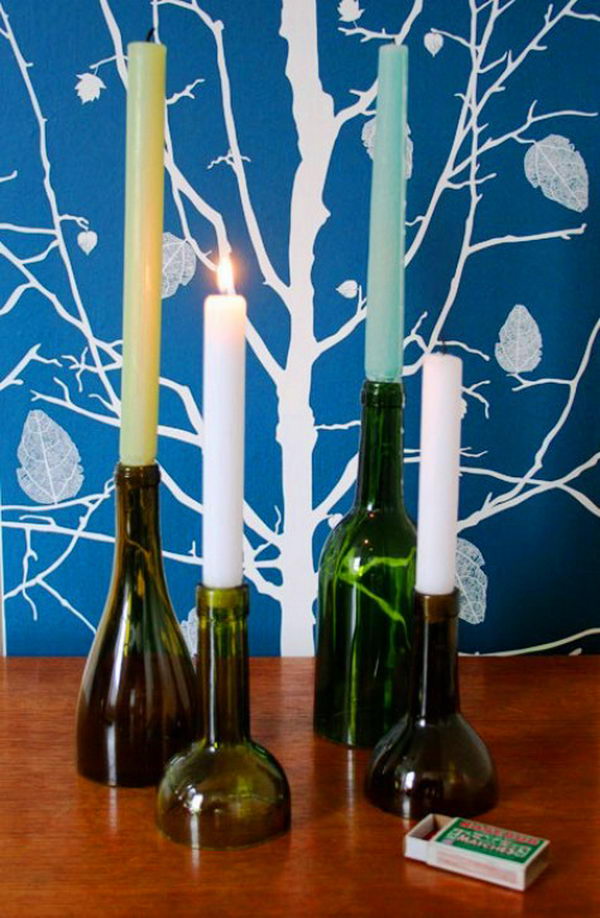
Candle Holder

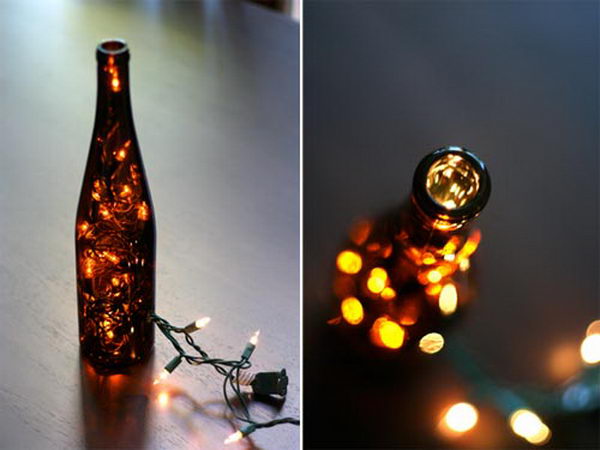
Light

Recycled Shelving and Tables
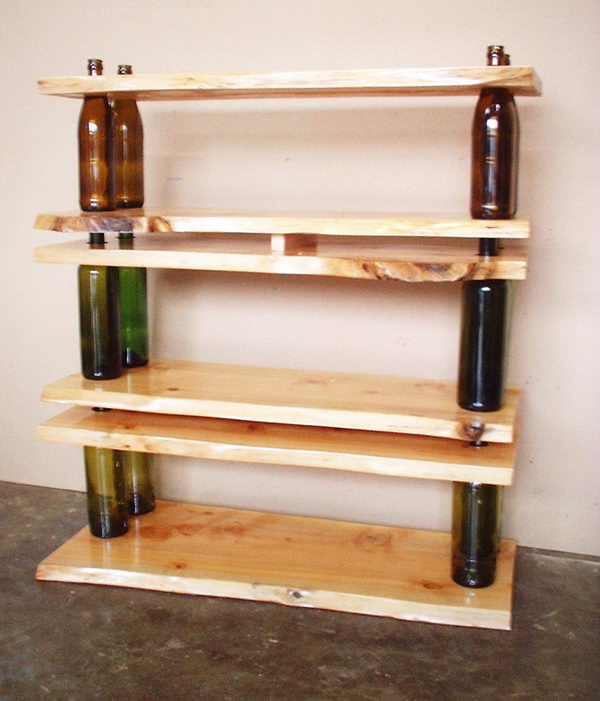

Hummingbird Feeder


Wind Chimes
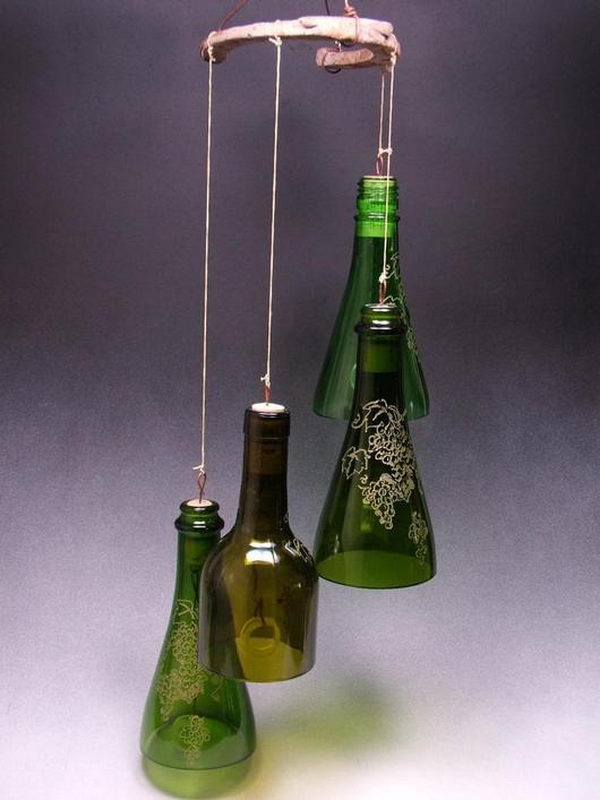

Wind Chime
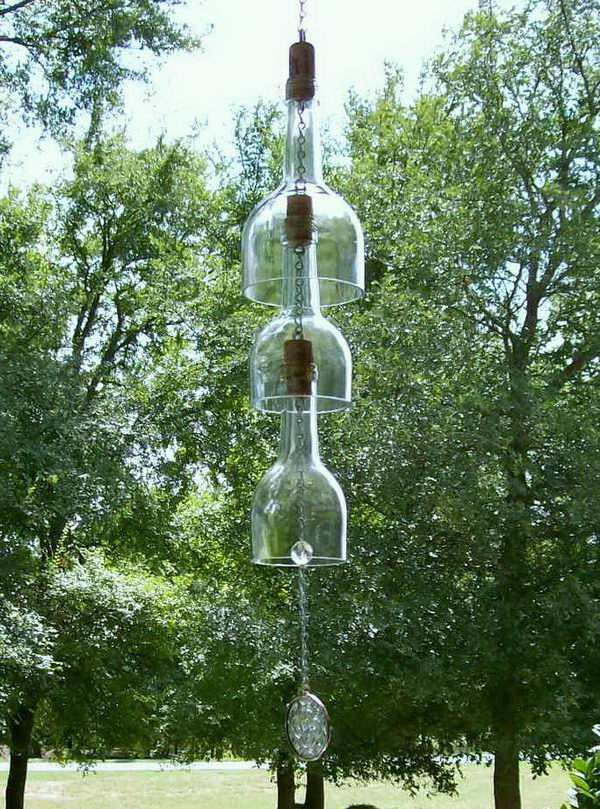

Bottle Clock
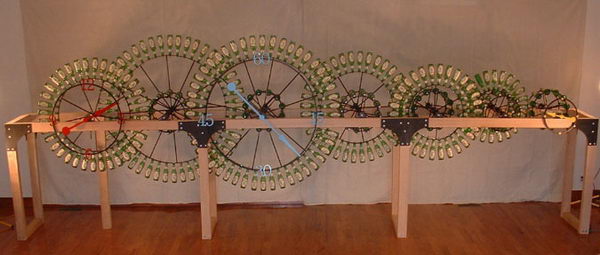

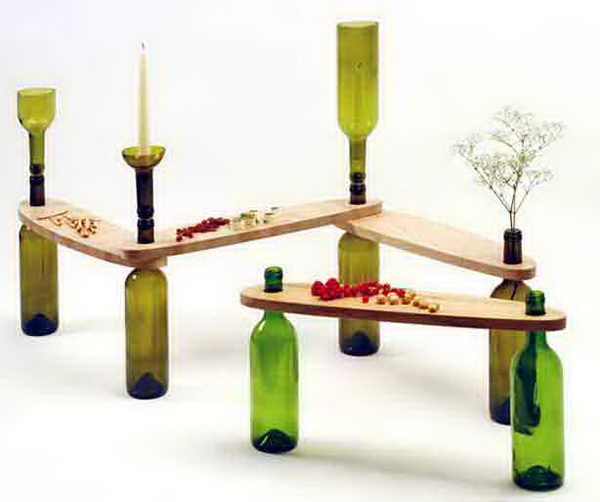
User Designed Table

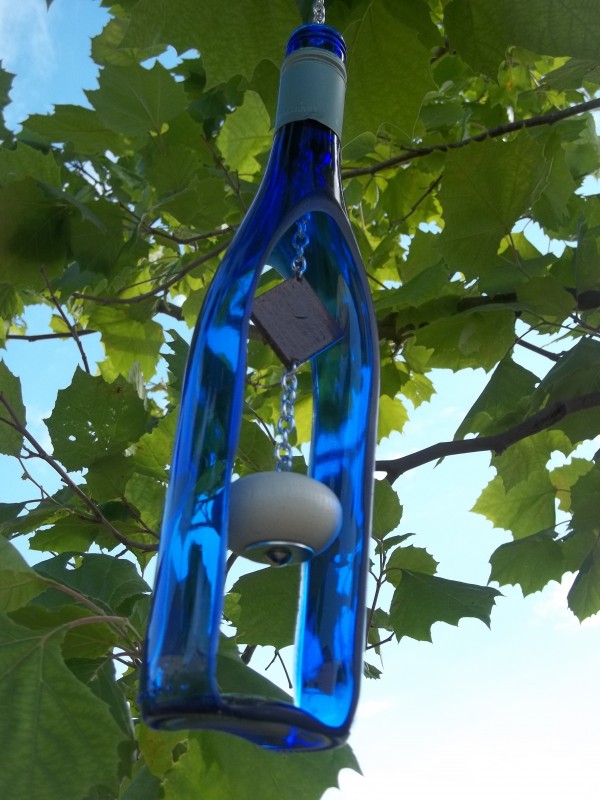
Wind Chime
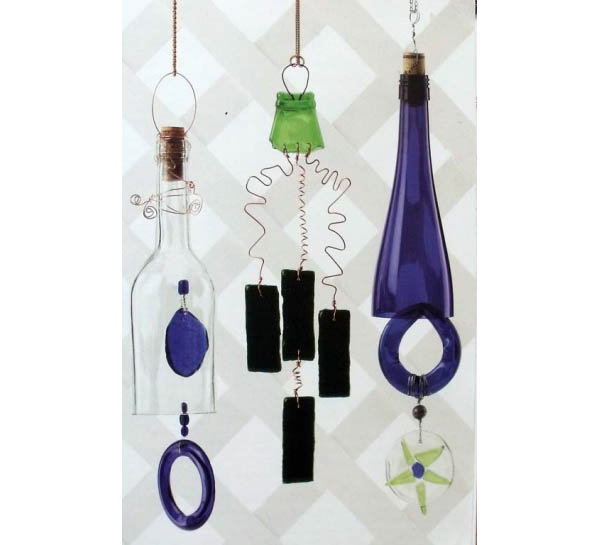

Recycled Wind Chime

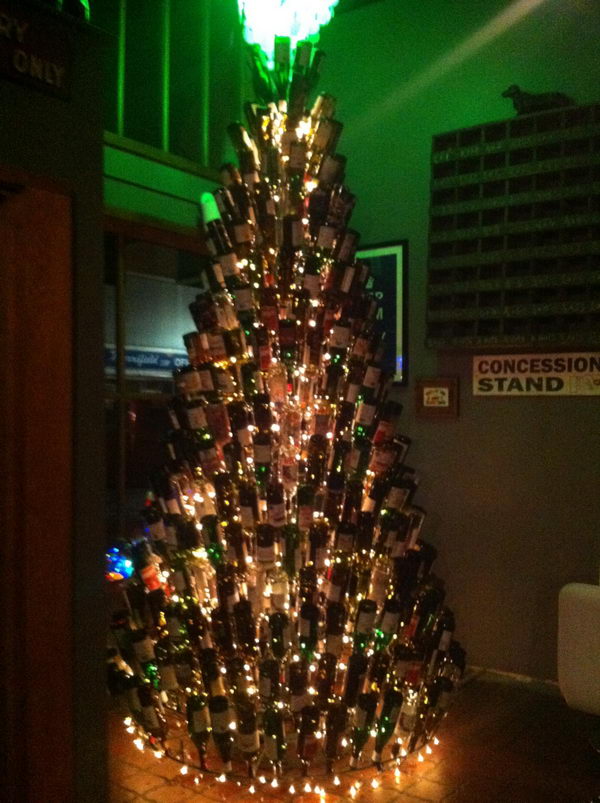
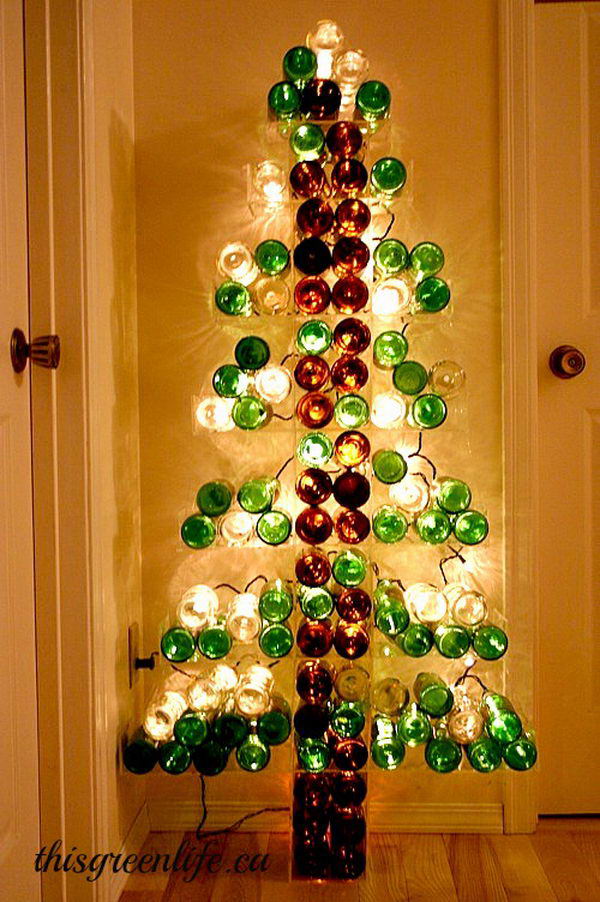
Christmas Tree


Tree
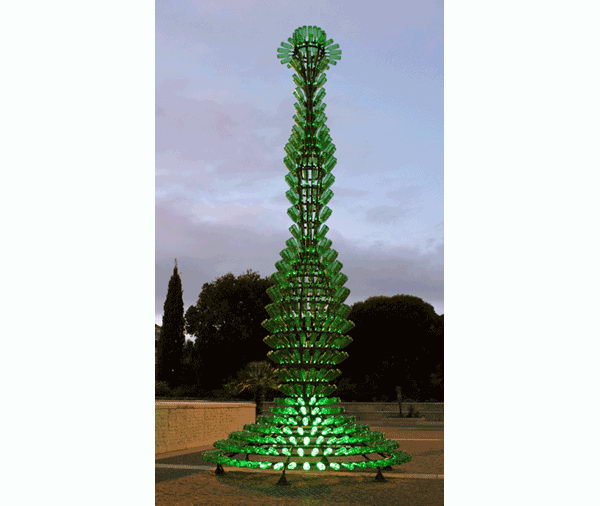

Christmas Tree

Bottle Tree
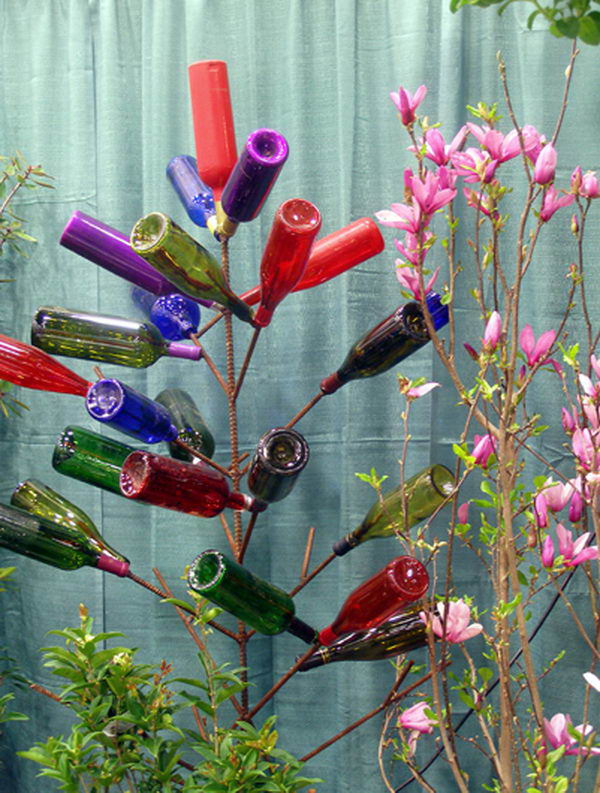

Bottle Tree

Curtain


Wine Bottle Plant
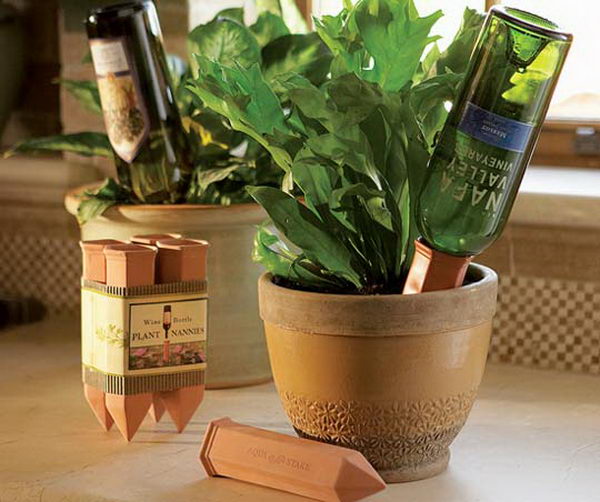

Light

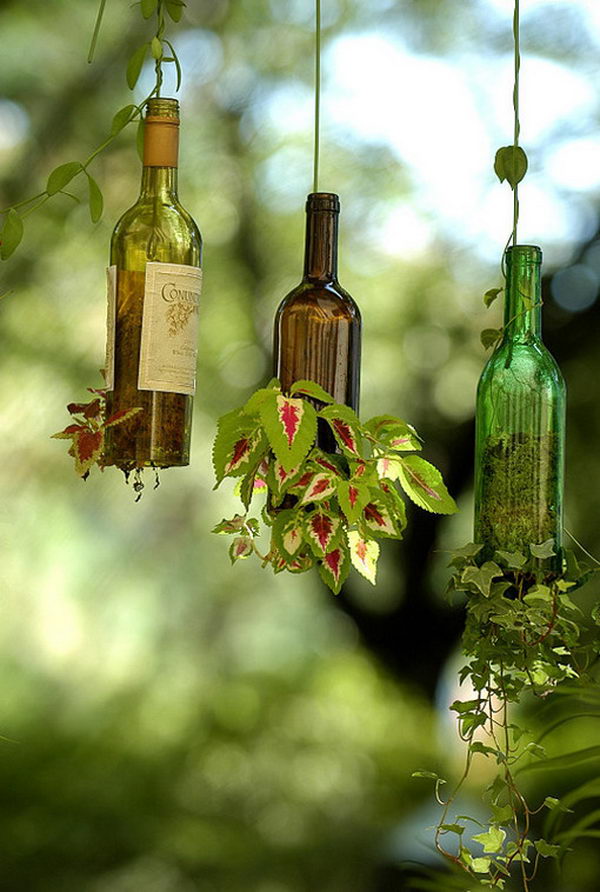
DIY Wine Bottle Hanging Planters

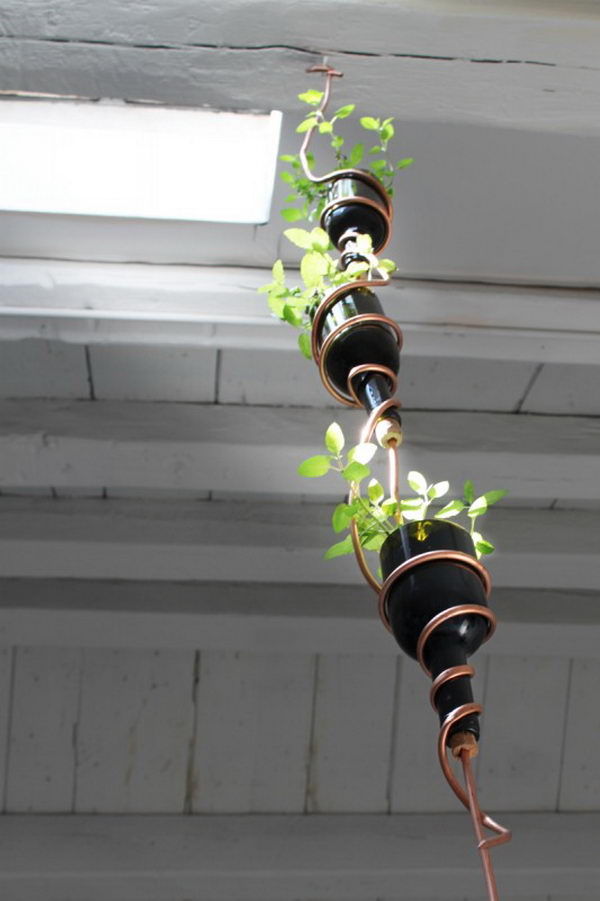
DIY Herb Garden

Craft for Wedding
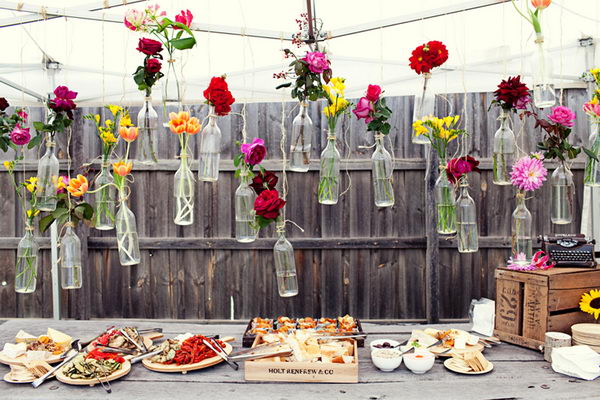

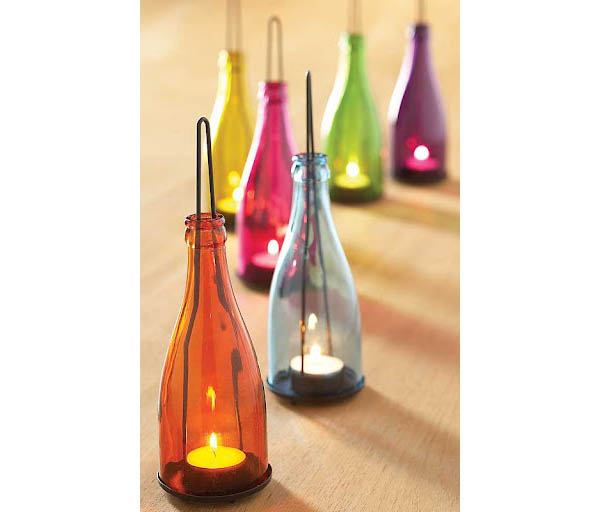
Colorful Bottle Lantern

Accent Light
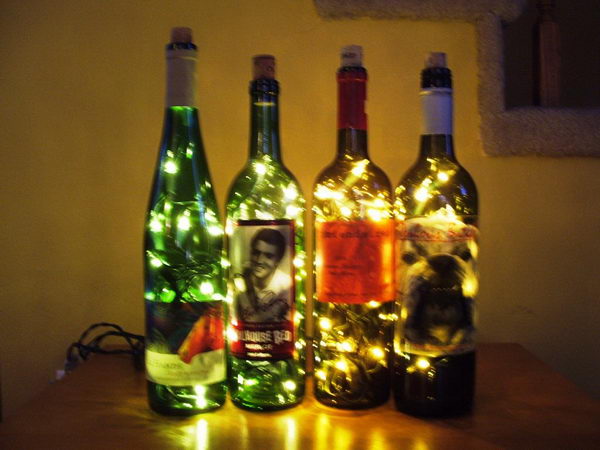

Wine Bottle Jack-O-Lanterns
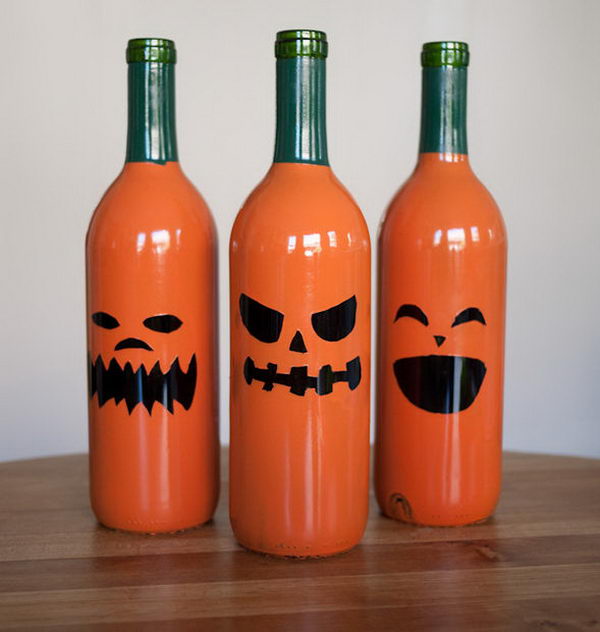

Wine Bottle Lamps

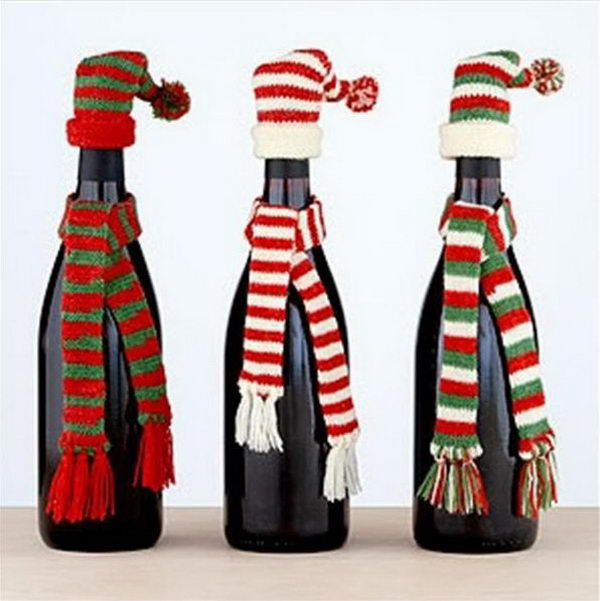
Christmas Crafts with Wine Bottles

Love Letters
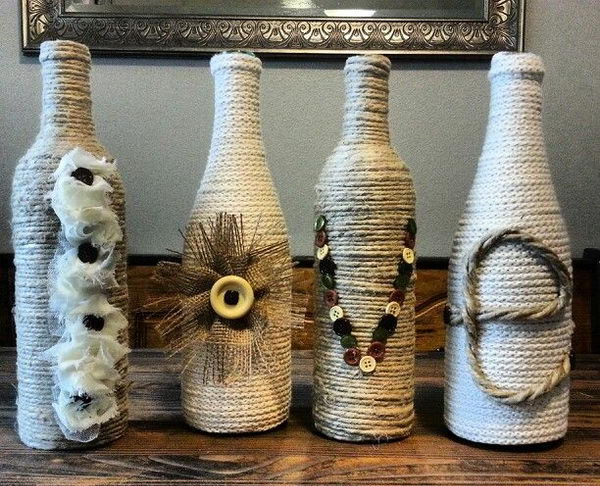

Love Letters
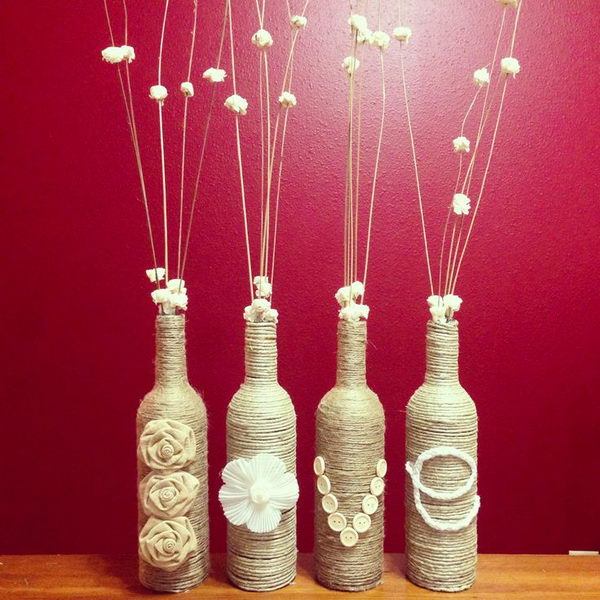

Love Letters
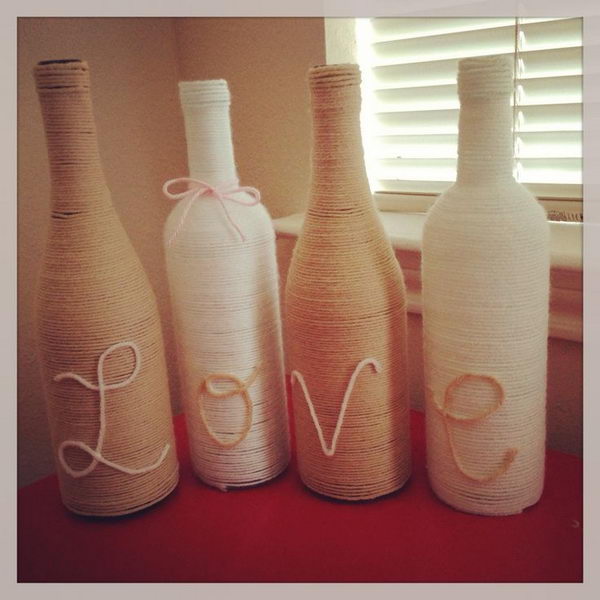

Wine Letters


Christmas Decoration
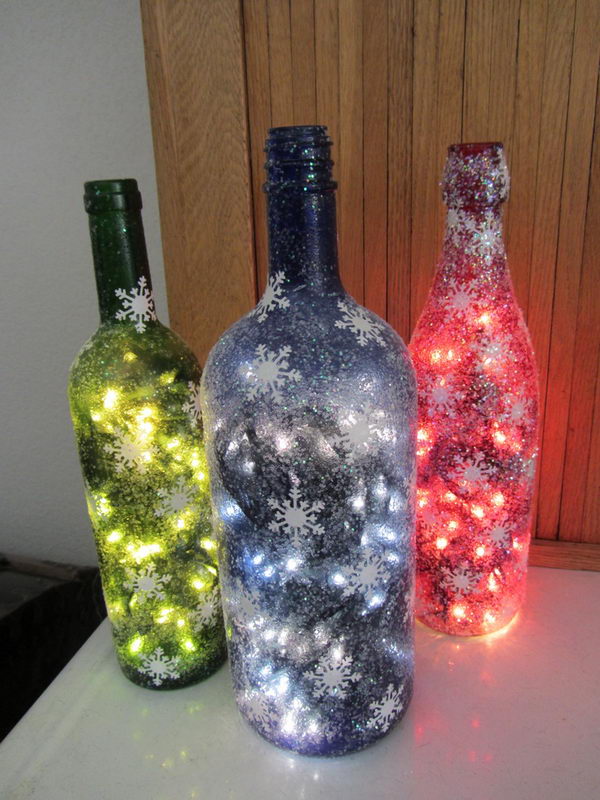

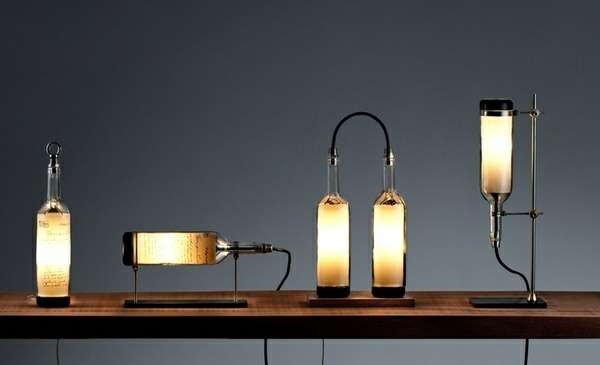
Lamp
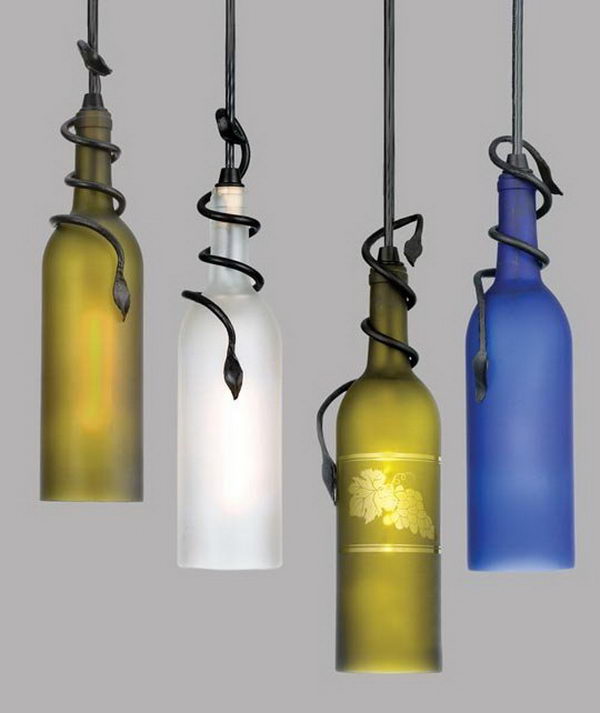

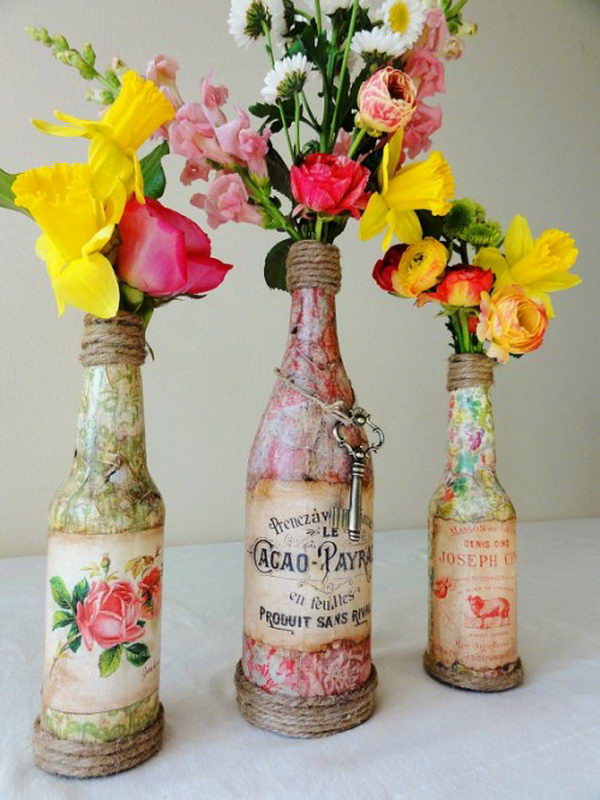
Vases
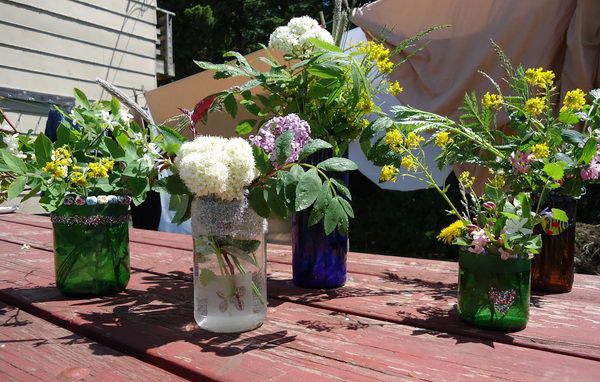

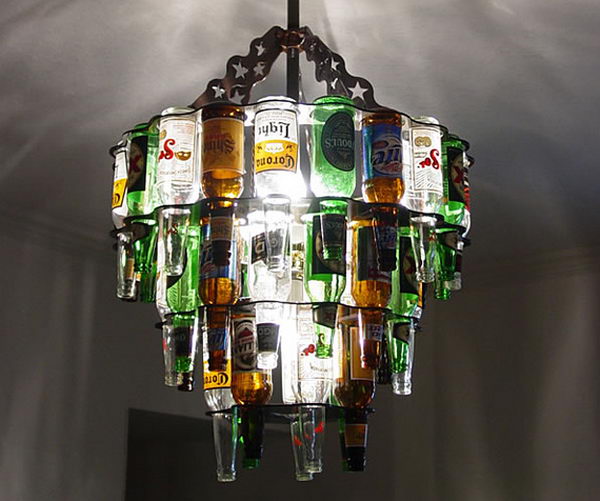
pam wilkinsosn says
these bottles are so nice. could you please tell me how to cut them.
thanks
pam
Katthy says
How are thesthese bottles cut? Both horizontal, vertical and center cut out? I Know that you need a special drill bit to make a hole if putting lights inside, but have no idea how to do the other cuts. Thank you!
Jacqueline Marchetti says
How did you attach the chain to the glass candle (votive) inside the bottle? Did you drill holes in the glass holder, epoxy it ? I am a bottle sculpturer myself. Also, I did a faux technique on a couple bottles with tissue paper and it turned out cool. Have you tried anything like that? I crinkled up tissue paper (used white) then covered the bottle with elmer’s glue. Gently put the tissue paper over the bottle in small pieces at a time,overlapping some of them. When I got the whole thing covered and allowed it to dry a day or so I painted over the bottle really good. the paint also helps the paper to stay in place better. Then I embelished it. Jacie.
Dallas Brozik says
The blue wind chime bottle was cut with a wet saw. Those things can get very expensive, and you can lose part of a finger if you are not careful. And it is really messy.
You can also use a wet saw to cut across the bottle, but that is too much trouble. Remove the label from the bottle in the area you wish to make the cut. Use a glass cutter to make a continuous score around the bottle. This is not something you can do by hand. There are some commercial products that can help, but I chose to make my own jig for high volume work. If you want to see a picture, drop me a note at brozik(at)netzero(dot)net. When the score is made, use boiling water and a measuring cup to heat the area around the score, NOT the entire bottle. Once the scored glass is hot, run some cold tap water on the score. You may have to repeat this procedure a couple times. The heating and cooling propagates a crack through the glass, and the two pieces fall apart. I usually start with 50-75 bottles or so, and I get a success rate around 85%. It is actually rather fun to do. The 15% of the bottles that are lost are due to imperfections in the glass or bad scores that send the crack sideways from the score. (Oh, well, you can’t save them all.) Be sure to wear eye protection, just in case. I have never had a problem of that magnitude, but sometimes a German bottle will shatter in my hands.
You will need to polish the edge. I start with a glass grinder to knock off the big burrs, but then there is about 10-15 minutes of hand work with 60 grit and 120 grit diamond sanding pads. The finish is not drinking glass smooth, but you won’t cut yourself on the rim. (That means you can give them as gifts or sell them at craft fairs.)
As for the votive candle, the technique of drilling the votive is a bit troublesome. I make a chain harness that the votive candle sits in and can be removed from at will; that way it is easy to replace the candle. It just takes some #16 jack chain from Walmart and a couple pair of needle nosed pliers to work the chain links. It is also helpful to have two 1″ steel rings to use as the hanging hardware. Drop me a note, and I’ll send you a picture.
For drilling the hole to put in the lights, you will need a 1/2″ diamond hole saw (12.7mm, not 12mm; Bosch makes a good one). You also need a drill press and a jig to hold the bottle. The jig is easy to build (I can send a picture). The hole must be drilled under water or the glass will overheat and crack. Figure out where you want the hole, and build a dam of plumber’s putty around it to hold in the water. Then use the drill press to make small downward strokes. You have to make sure to lift the bit so that water can get in to cool the glass. Once you are through, a little water and glass dust will fall into the bottle along with the glass plug. Be sure to rinse out the bottle soon thereafter. If you let the water dry, the glass dust acts like cement and leaves a residue in the bottle that is an absolute b!tch to clean out. If you are going to string the lights, you will also need to find a 1/2″ stress relief bushing to prevent them from being pulled out the back.
Have fun!