When you are living in a small space apartment and you’ve got a lot of stuff, its kinda frustrating where to put it without occupying much space. You want to keep your things organize but you do not know what to do. The simple solution for you is to build a hanging shelves.
Hanging shelves has been a popular project for people who want to maximize their apartment space. It is a good project for organizing your stuff without sacrificing some space in your little apartment. Since it is mounted on the wall, no space is really needed. All you have to do is choose the best wall you can place your hanging shelves.
There are a variety of materials you can utilize when building a hanging shelves. One of my personal favorite material is a wooden crate. It is a versatile material since it can look old fashioned or modern depends on how you will turn it to be. For this DIY project, I will make a hanging shelves made of two recycled wooden crates. Are you ready? Read on!
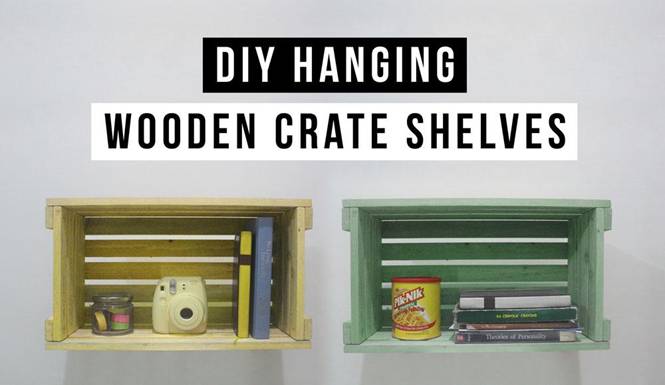

What you will need:
– Wooden crates
– Sand paper
– Spray paint (any color your prefer)
– Drill
– Screw
Step 1:
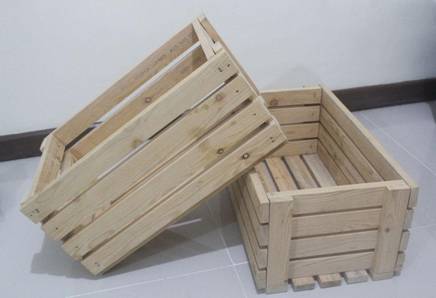
Start the project by buying some wooden crates from flea market if you do not own one. There are different sizes available for wooden crates so it will depends on you what kind of hanging shelves you want to create. The size can differ from one another, but for this project I choose to to have two wooden crates with the same size. You can also utilize some recycled wooden crates just like me but make sure that the wood is still sturdy enough to hold stuff that you will be placing on the shelf.

Step 2:
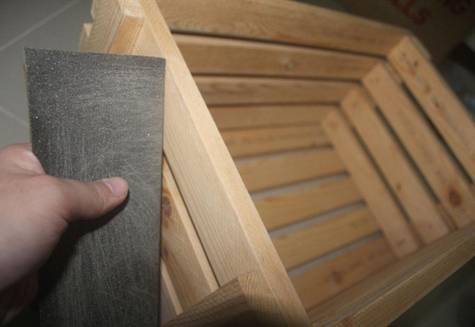
Clean up your wooden crates if needed. Afterwards, use sand paper to make the surface of the wooden crates smooth as possible. When buying some wooden crates, make sure to check the surface of the wood if it is already smooth so you don’t need to put extra effort to smoothen it up.

Step 3:
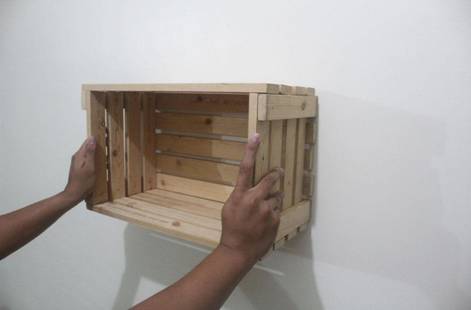
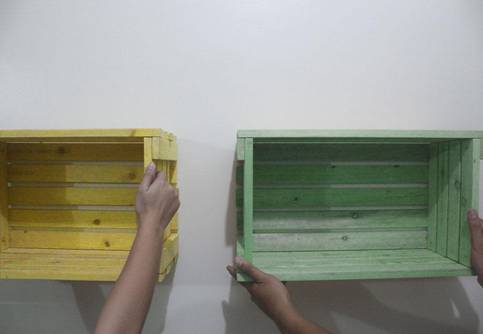
When you are satisfied with the smoothness of your wooden crate’s surface, you can now start placing your crates on your wall to think of a good layout for your hanging shelves. Since I used only two wooden crates, I settle with the typical layout of two hanging shelves being adjacent with one another horizontally.

Step 4:
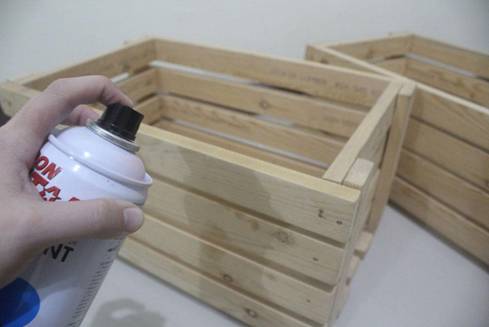
If you are happy with your hanging shelf layout, you can now start spray painting your wooden crates. You can choose any color you want. As of me, I choose a light yellow shade and mint green color for my crates. I want it to look cute and fresh, hence the choice of color. If you want to stick with the woody vibe, you can skip painting your wooden crates and apply some wood varnish instead to add some glossy effect.

Step 5:
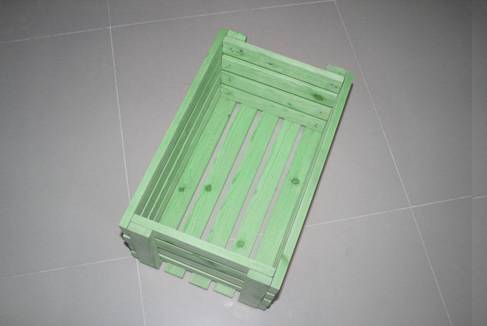
Once you are done painting the crates, leave it overnight to make sure that the paint is already dry before performing the next step for this project. Make sure that you will place the painted crates somewhere safe and away from children.

Step 6:
When the paint is all dried up, place your wooden crates into the layout you have in mind during the Step 2. You can now drill holes in the four inner sides of the wooden crates. As of this project, I only put some small screws since I do not plan putting a lot of weight on my hanging shelves. But if you plan to make this shelf carry some heavy books or stuff, then you must adjust your needed screws for your desired weight capabilities of your shelf.

Step 7:
After drilling the screws into your hanging shelves and check its durability, you can now place some stuff on it. And viola! You now have your very own hanging wooden crate shelves.
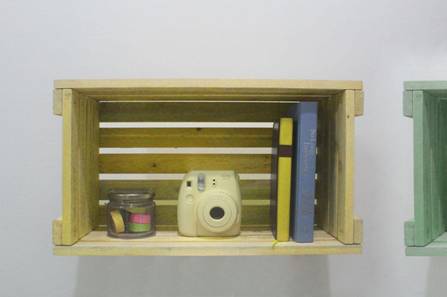

You can use this as a utility shelf or a bookcase. Attaching a glass door to this shelf will be one cool idea. It is really important to preserve your books safely, so that you can also consider transforming this shelf into a mini bookcase with glass door. Well, this project is easy to make. You do not need to have a high level of carpentry skills to be able to create one. You just have to follow the steps and explore your project if needed. So what are you waiting for? Create one now and tell me how did it turn out.
Leave a Reply